Baked cheese? Yes please!
If you are not familiar with halloumi cheese, you are in for a treat. Halloumi is a semi-hard, brined cheese traditionally made in Cyprus from goat's and/or sheep's milk. Bakeable and fryable, halloumi becomes delightfully gooey on the inside and golden and crispy on the outside. Salty and savoury, it is one of my favourite salad toppers and appie and makes for an instant crowd pleaser. You may have had halloumi before at a Greek restaurant in the form of a dish called Saganaki.
After a trip to Argentina and Uruguay, my husband Jay and I returned with a great love for chimichurri. This beautiful fresh and zingy parsley sauce is a staple in South American cuisine and will be found everywhere as a side to steak, chorizo sausage and along with their popular baked cheese called provoleta. We tasted all sorts of variations of chimichurri, but all maintained a steady recipe based on parsley, oregano, garlic, olive oil and a zip of vinegar.
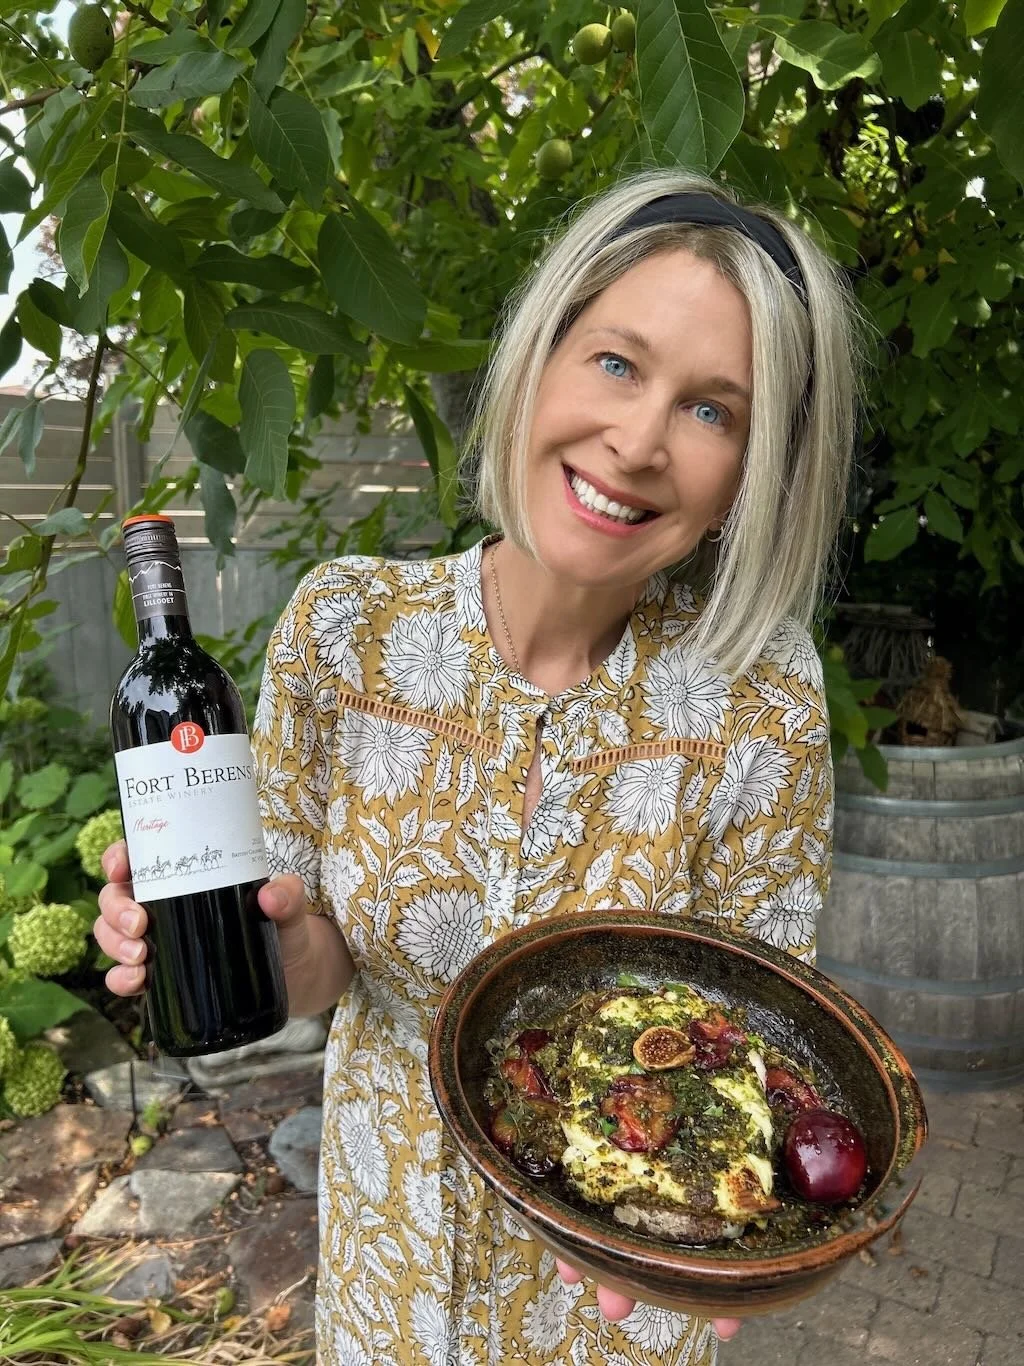
To make this dish unique and to enhance the tasting notes from this beautiful 2022 Fort Berens Meritage wine, I added the sweetness of fig, and saltiness of olives to my usual parsley fueled chimichurri and replaced the vinegar with the tartness from the plums to create a sublime taste experience. The roasted plums can be substituted with cherries or peaches when in season (or just more figs) and the oregano can be replaced or added to with thyme —this is a very versatile dish.
Serve with toasted bread or crackers for the perfect wine o’clock snack!
*RECIPE*
Baked Halloumi w/ Fig & Olive Chimichurri & Roasted Plums
Serves 2-4
Ingredients:
1 block Halloumi cheese
2 cups packed fresh flat leaf parsley
2 garlic cloves, peeled
3 dried figs, cut in half plus 2 more for roasting
6 large green olives with pimento
Leaves from 3 oregano sprigs (approx. 1 Tbsp) plus 3 more sprigs for roasting
1/4 cup Extra Virgin Olive Oil plus more for drizzling
¼ tsp fennel seeds, pounded with a mortar & pestle
3-4 fresh plums, pitted and halved
Maldon sea salt
Method:
Preheat oven to 350 degrees.
Place the halloumi cheese in a baking dish and with a sharp knife cut a deep criss cross pattern ensuring not to cut all the way through to maintain one large piece of cheese.
To the bowl of a food processor add the: parsley, garlic, figs, olives, oregano and extra virgin olive oil. Pulse until chopped finely.
Thickly spread the top of the halloumi with the chimichurri sauce. There will be extra so save it for tomorrow when you will want to make this again! Also keeps well in fridge or can be frozen).
Place plums, figs and oregano sprigs around the halloumi and sprinkle with fennel seeds. Drizzle with extra virgin olive oil and sprinkle a little Maldon sea salt over all. Place in oven for 30 minutes. If you would like more brown spots on top, leave some of the cheese uncovered with sauce and switch oven to broil for a couple of minutes.
Remove from oven and serve with bread or crackers and fill your glasses with beautiful Fort Berens 2022 Meritage.
Cheers to a delicious life!